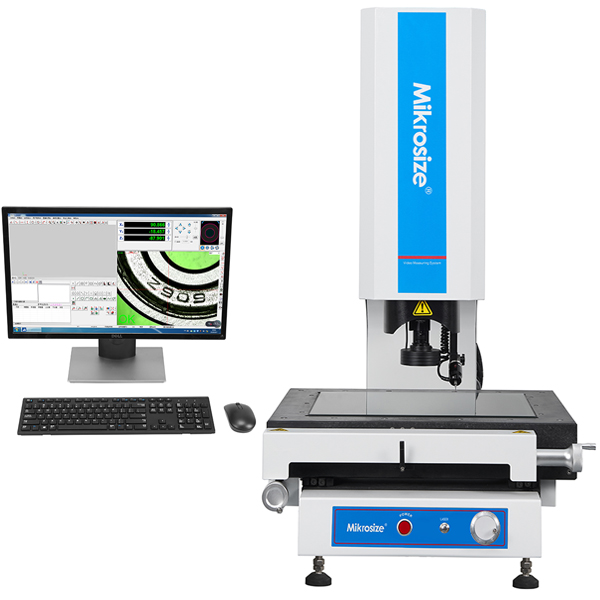
The common faults of video measuring machine

The common faults of video measuring machine include lifting transmission fault, workbench fault, imaging fault, electrical fault, electronic fault and accuracy fault.
1. Lifting transmission failure. The common ones are abnormal noise in lifting, unable to rise, falling and falling, bouncing, large space-time clearance in transmission, no transmission in fine adjustment, loose projection screen frame, etc.
2. Worktable failure. Generally, it is easy to see the phenomenon of smooth rod idling, smooth rod transmission bouncing, friction transmission not smooth, workbench movement with noise, workbench movement with stagnation, etc. When solving the problem, we should find out the cause of the problem, and then suit the remedy to the case. It can be solved by adjusting the screw tightness of the spring, replacing the bearing, adding new oil, adding lubricating oil, replacing the polished rod, adjusting or replacing the polished rod bracket, etc.
3. Imaging failure. When the black screen is displayed, you can check whether the power cord is connected properly, the power voltage, etc., and plug in the signal wire of the display tightly. If there is any damage to the parts, you need to replace the display or the cross wire generator. When the cross line and the collimation point deviate greatly when the objective lens is zoomed, readjust the screw for locking the lens barrel, or change the lens barrel. When there is shadow on one side of the measured work, the screws on the four corners of the camera or glass can be adjusted to straighten the work piece.
4. Electrical fault. Common faults are light source is not bright, easy to burn fuse, transformer overheating, damage, etc.
5. Electronic fault. If the data box fails, it can be shut down and restarted; If the shaft does not count, the slide or op board or the whole ruler can be replaced, the signal line can be reconnected, and the main board can be replaced.
6. Accuracy failure. It includes the inaccuracy of X. Y axis,
the difference of two coordinate measurement accuracy, the large error of angle
indication, the large error of different plane measurement and so on. To deal
with this kind of fault, we should pay attention to the correction and
adjustment.
Name: Mikrosize
Mobile:0086-13918745376
Tel:0086-769-85331789
Email:mikrosize@188.com
Add:NO7 East Xingfa Road Wusha, Changan Town, Dongguan, China.