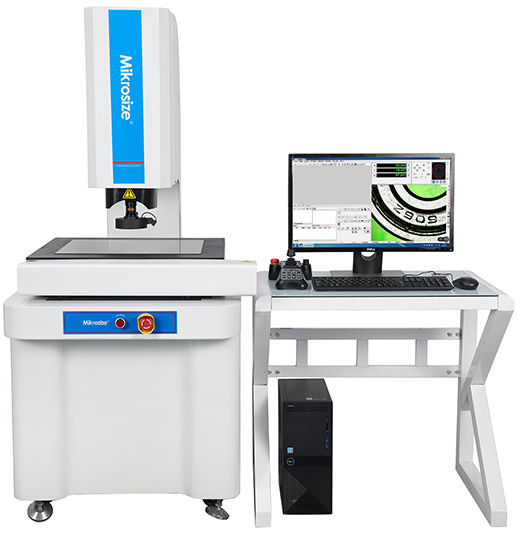
CNC Video Measuring System Angle measurement skills
CNC video measuring system Angle measurement skills

It is difficult to overcome the problem to improve the accuracy of the angle measurement of the automatic imager. There are two methods for angle measurement of the automatic imager: tangent method and mining point calculation method. Tangent method only requires the operator to rotate the lens or the internal line on the screen, align the two sides of the measuring workpiece, and then measure the angle by encoder or circular grating count.
Tangent method is easy to operate, but it is low in precision reading, and suitable for rapid batch detection. If the precision reading of the measured parts is required to be high, another method is suitable for the mining point calculation. All geometric elements are a little bit composed, including basic elements line, curve and arc. The two-dimensional plane angle is composed of two lines of basic geometric elements, and the straight line is composed of numerous points. So the most important point is whether the angle measurement is accurate or not.
The angle measurement technique of automatic imager I: the length of linear acquisition is as long as possible.
For the automatic imager, due to the limited screen display, and the large magnification (generally in the range of 0.7-4.5, 24x-190x), the size of the workpiece in the screen display part is only a few millimeters. Many measuring personnel are used to collecting points and line elements only on the screen display part when they are testing. If the collected point has deviation, the shorter the line segment is, the larger the deviation of the measured angle value will be, the longer the line segment, the smaller the deviation of the measured angle value will be. So when measuring the angle, we try to collect the lines on both sides of the angle as long as possible. If the screen display range is too small, we can move the workbench, and take a point in the attachment of the starting point of the straight line where the angle is located, and then take a point at the end position, so the measured angle error will be greatly reduced.
The second is the angle measurement technique of automatic imager: the regression line deviation is small.
There are many testers who respond that the repetition accuracy is very poor when measuring the angle. The same method of the same person can reach 0.5 degrees of repetition error in two measurements. Many image measurement software, including CMM software, is two points by default for linear acquisition. For some parts with regular and good straightness, it will not cause too much error, but for parts with bad straightness and more burr, the method of two-point line acquisition will bring great error and the repetition accuracy is very poor. The angle of such linear composition will not be good for repeated measurement.
If we use the method of multi-point regression to determine both sides of the angle, the line will be closer to the actual edge of the workpiece under test, the deviation of the line will be reduced, at the same time, the measurement error will be reduced, and the repeatability of the measurement value will be greatly improved.
